Category: Organization Tips

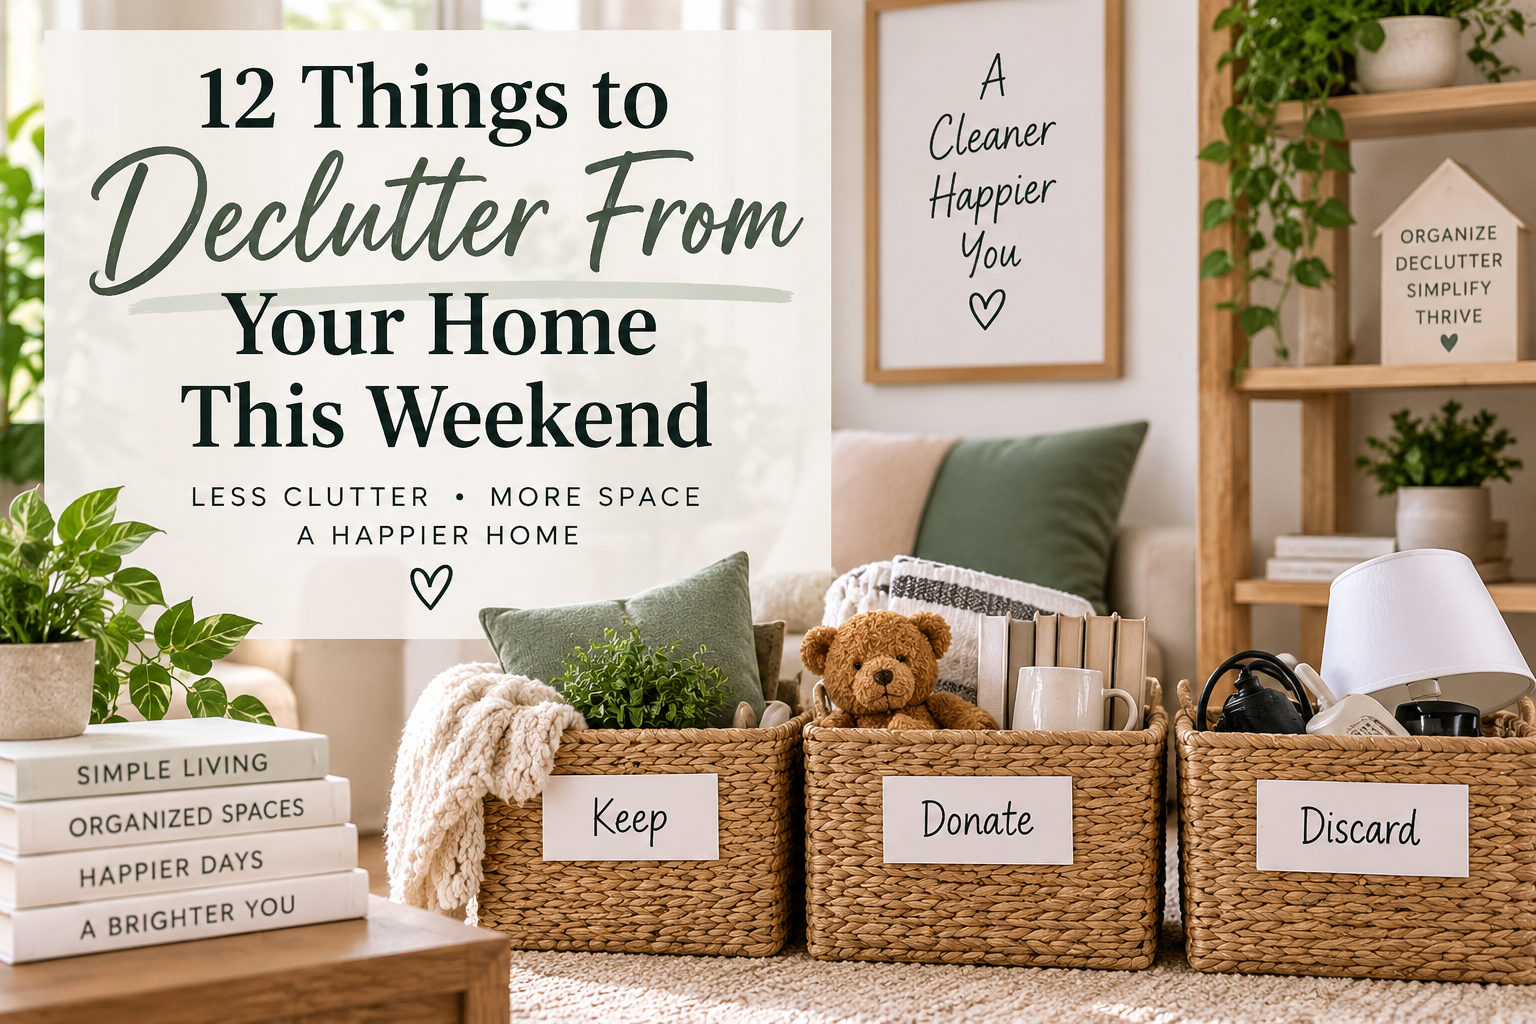
  • 12 Things to Declutter From Your Home This Weekend

    12 Things to Declutter From Your Home This Weekend

    Decluttering doesn’t have to mean spending an entire weekend sorting through everything you own. Sometimes the best way to make progress is to focus on a few things that are easy to identify, remove, and let go.

    A couple of hours spent clearing unnecessary items can make your home feel noticeably lighter and easier to manage. Better yet, you don’t need to tackle every room or organize everything perfectly to see a difference.

    If you have some time this weekend, start with these 12 common sources of clutter. Work through the list at your own pace, skip anything that doesn’t apply to your home, and focus on making progress rather than trying to finish everything at once.
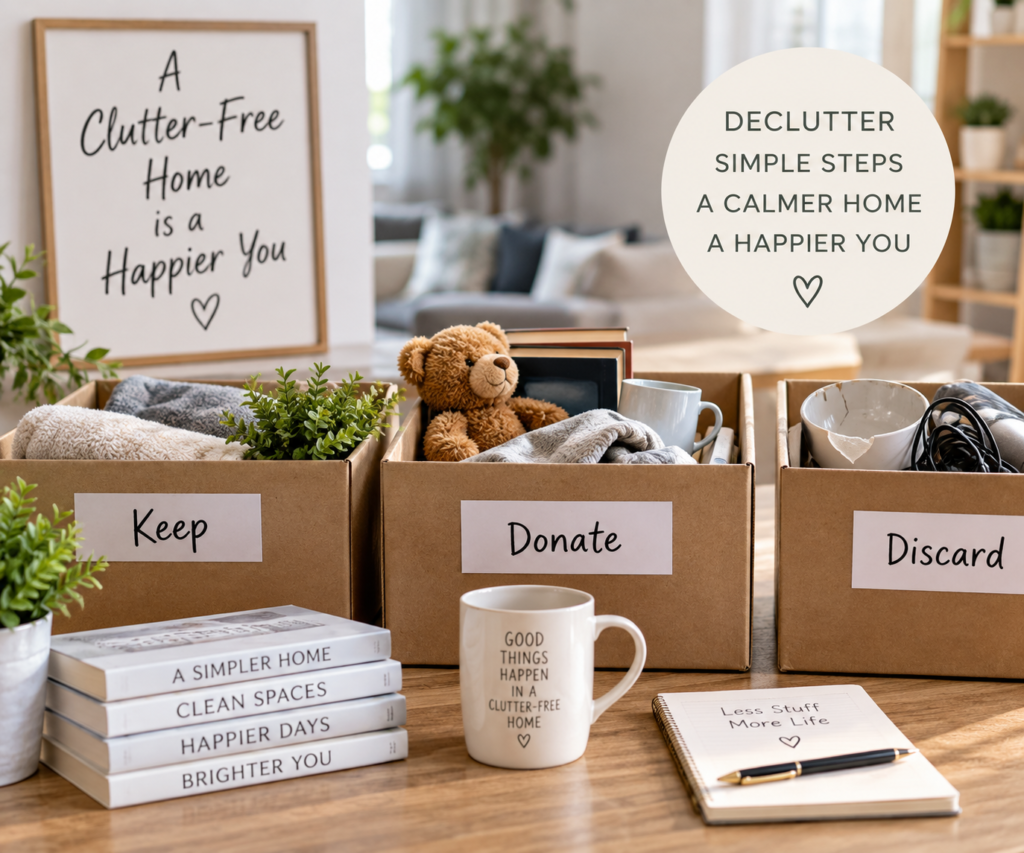
    Decluttering boxes labeled Keep, Donate, and Discard in an organized home.

    1. Expired Food and Pantry Items

    Start with your pantry, refrigerator, and freezer. Check expiration dates and remove food that is expired, stale, or unlikely to be used. Don’t forget spices, condiments, baking supplies, and items hiding at the back of shelves.

    As you work, group similar foods together so you can see what you already have. Clearing out unusable items creates more room for the groceries you actually use and makes meal planning easier.

    2. Clothes You No Longer Wear

    Look through your closet and drawers for clothing that no longer fits, hasn’t been worn in a long time, or simply doesn’t suit your lifestyle anymore. Set aside pieces that are still in good condition for donation.

    You don’t have to empty your entire closet. Start with one category, such as shirts, pants, shoes, or jackets. Working in smaller sections keeps the process manageable and makes decisions easier.

    3. Old Toiletries and Bathroom Products

    Bathroom cabinets and drawers can quickly fill with expired toiletries, nearly empty bottles, old cosmetics, and products you tried but never liked. Go through one area at a time and remove anything expired, empty, or no longer used.

    Keep the products you use regularly within easy reach and store backups together. With fewer unnecessary items taking up space, your bathroom will be easier to organize and maintain.

    4. Old Papers, Mail, and Receipts

    Paper clutter can build up quickly on countertops, desks, and tables. Go through old mail, receipts, flyers, and paperwork, and recycle or shred anything you no longer need.

    Keep important documents together in one designated place so they’re easy to find when needed. Taking a few minutes to sort incoming paperwork regularly can prevent piles from building up again.

    5. Kitchen Gadgets You Never Use

    Kitchen drawers and cabinets often contain gadgets, utensils, and small appliances that haven’t been used in months or even years. Look for duplicates, broken items, and tools that no longer serve a useful purpose.

    Keep the items you actually use and consider donating anything that’s still in good condition. Clearing unnecessary kitchen tools creates more room for everyday essentials and makes cabinets and drawers easier to organize.

    6. Broken or Unused Household Items

    Walk through your home and look for items that are broken, damaged, or simply no longer used. This might include old décor, worn-out linens, unused electronics, or household items you’ve been keeping “just in case.”

    Dispose of broken items responsibly and donate usable things you no longer need. Removing these forgotten belongings can free up valuable storage space and make your home feel less cluttered.
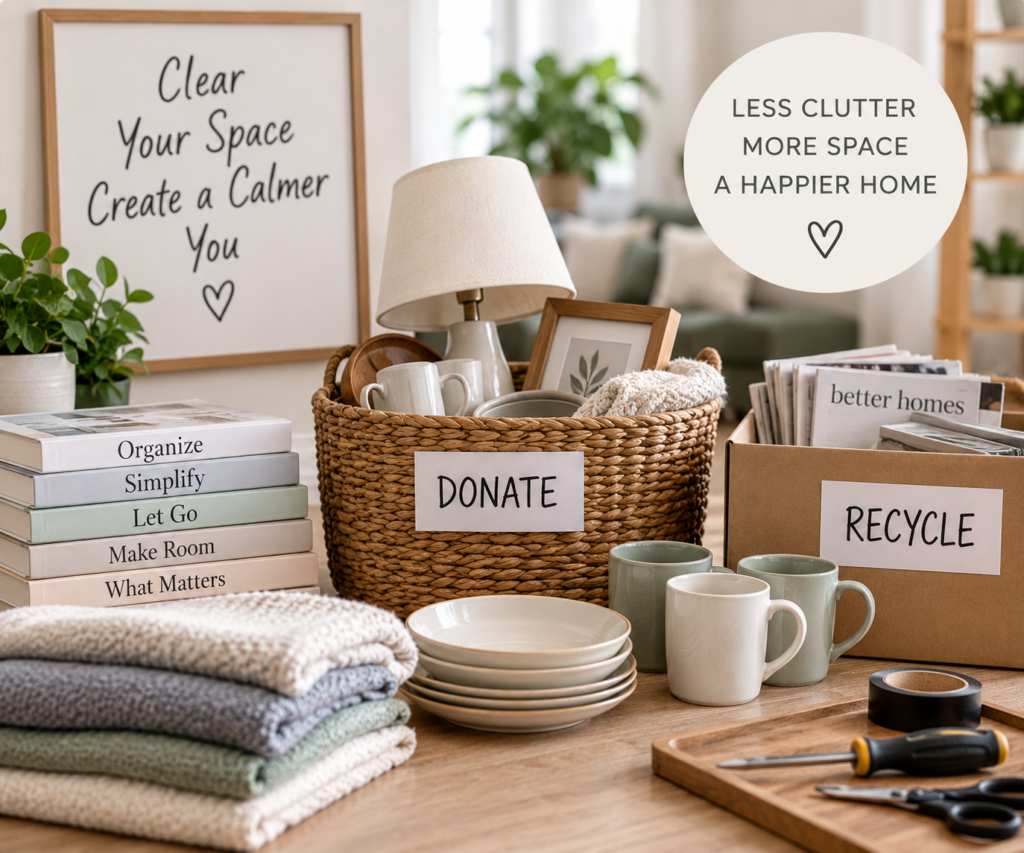
    Decluttering household items sorted for donation and recycling in an organized home.

    7. Books and Magazines You Won’t Read Again

    Books and magazines can slowly accumulate on shelves, coffee tables, and nightstands. Go through your collection and set aside anything you’ve already read, no longer enjoy, or realistically don’t plan to read.

    Keep the books you truly value and consider donating the rest. Recycle outdated magazines and catalogs. A smaller collection makes shelves easier to organize and leaves more room for the things you actually enjoy.

    8. Extra Mugs, Cups, and Water Bottles

    Mugs, cups, and reusable water bottles have a way of multiplying over time. Check your cabinets for duplicates, damaged pieces, promotional cups, and anything you rarely reach for.

    Keep your favorites and enough extras for your household and guests. Donating the rest can free up valuable cabinet space and make it easier to find what you need every day.

    9. Toys, Games, and Hobby Supplies No Longer Used

    Toys, games, craft supplies, and hobby materials can take up a surprising amount of space when they’re no longer being used. Look for items that are broken, incomplete, outgrown, or tied to hobbies your household no longer enjoys.

    Donate usable items and dispose of anything damaged or incomplete. Keeping only the activities your household currently enjoys makes these areas easier to organize and maintain.

    10. Duplicate Cleaning Supplies

    Cleaning products often end up scattered under sinks, in closets, and throughout different rooms. Gather them together and look for duplicates, nearly empty containers, and products you no longer use.

    Use up what you already have before buying replacements, and safely dispose of anything that has expired or is no longer usable. Keeping your cleaning supplies together makes it easier to see what you have and prevents unnecessary purchases.

    11. Old Electronics and Cords

    Old phones, chargers, cables, headphones, and small electronics can accumulate quickly because we’re often unsure whether we might need them again. Go through your collection and identify anything that no longer works or belongs to a device you no longer own.

    Keep the cords and electronics you still use and recycle unwanted electronics through an appropriate electronics recycling program. Labeling the cords you keep can also make them much easier to identify later.

    12. Decorations You No Longer Love

    Decorations should help make your home feel comfortable and personal, but over time it’s easy to accumulate items that no longer fit your style. Look around your rooms and storage areas for décor you no longer enjoy displaying.

    Keep the pieces that you genuinely love and consider donating items that are still in good condition. Removing decorations, you no longer enjoy can make your home feel less crowded while allowing your favorite pieces to stand out.
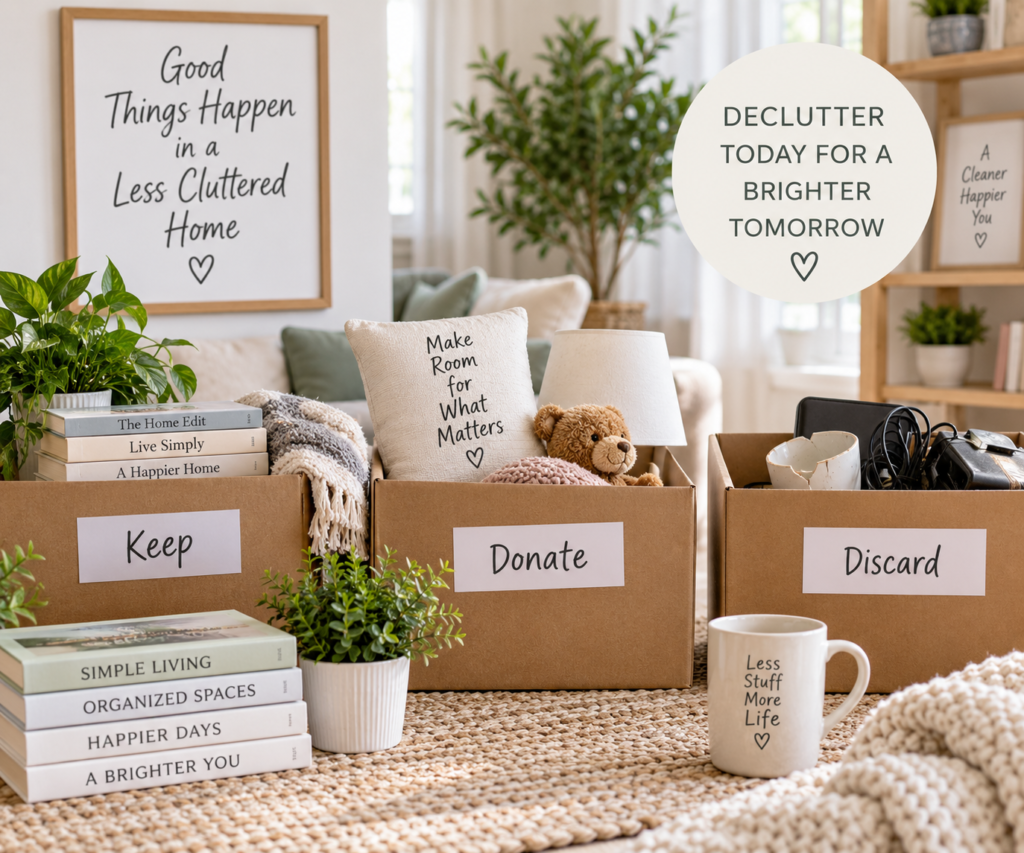
    Decluttering boxes labeled Keep, Donate, and Discard in an organized living room.

    A Little Decluttering Can Make a Big Difference

    You don’t have to completely reorganize your home to make it feel calmer and easier to manage. Removing even a handful of things you no longer need can create noticeable breathing room.

    The key is to keep the process manageable. Choose a few items or one small area at a time, make your decisions, and then move on. Small decluttering sessions are much easier to fit into everyday life than waiting for the perfect weekend to tackle everything.

    Once you’ve worked through these 12 categories, take a moment to enjoy the extra space you’ve created. A less cluttered home isn’t about having fewer things just for the sake of it—it’s about making more room for the things you actually use and enjoy.

    Ready to keep going? Explore our How to Declutter Your Home Room by Room Without Feeling Overwhelmed guide for a simple room-by-room approach to creating a calmer, more organized home.
  • How to Declutter Your Home Room by Room Without Feeling Overwhelmed

    How to Declutter Your Home Room by Room Without Feeling Overwhelmed

    A cluttered home can make everyday routines feel harder than they need to be. When belongings begin piling up on countertops, tables, floors, and inside closets, even simple tasks like finding what you need or putting things away can become frustrating.

    The good news is that you don’t have to declutter your entire home in one weekend. Working room by room allows you to make steady progress without turning the process into another overwhelming project.

    The goal isn’t to create a perfectly organized home. It’s to remove what you no longer need, give the things you use a practical place to belong, and create spaces that are easier to maintain.

    This room-by-room approach will help you decide where to begin, what to focus on, and how to make meaningful progress one manageable space at a time.

    Calm organized living room with baskets and simple storage solutions for a clutter-free home

    1. Start Small Before Tackling an Entire Room

    One of the easiest ways to become overwhelmed is to pull everything out at once. Instead, choose one small area you can realistically finish, such as a countertop, one drawer, a single shelf, or a small section of a closet.

    Remove anything that clearly doesn’t belong, throw away obvious trash, and set aside items you no longer use. Finishing one small area gives you a visible result and makes it easier to keep going.

    2. Declutter the Kitchen

    Start with the areas that tend to collect the most clutter, such as countertops, utensil drawers, food-storage cabinets, and the pantry. Remove duplicate items, expired food, and kitchen tools or appliances you rarely use.

    Keep frequently used items within easy reach and move occasional-use items to less convenient storage areas. The goal is to make everyday cooking and cleanup easier—not to keep every kitchen item you own on hand.

    3. Declutter the Living Room

    The living room often becomes a collection point for items that belong somewhere else. Start by removing dishes, mail, toys, clothing, and anything else that has migrated into the room.

    Next, look at books, magazines, decorations, electronics, and other items that permanently live there. Keep the things you use or enjoy, and remove anything that is simply taking up space. Give frequently used items a designated place so the room is easier to reset at the end of the day.

    4. Declutter the Bedroom

    A calmer bedroom starts with reducing visible clutter. Clear nightstands, dressers, chairs, and the floor before moving on to drawers and closets.

    Go through clothing and accessories and set aside anything that no longer fits, hasn’t been worn in a long time, or you simply don’t enjoy using anymore. Keep everyday items easy to reach and avoid using chairs or other surfaces as temporary storage.

    5. Declutter the Bathroom

    Bathrooms can become crowded with toiletries, cosmetics, medications, towels, and partially used products. Work through one drawer, cabinet, or shelf at a time and remove empty containers, expired products, and items you no longer use.

    Group similar items together so you can easily see what you already have. Keep everyday essentials within reach while storing backups and less frequently used products in a separate area.

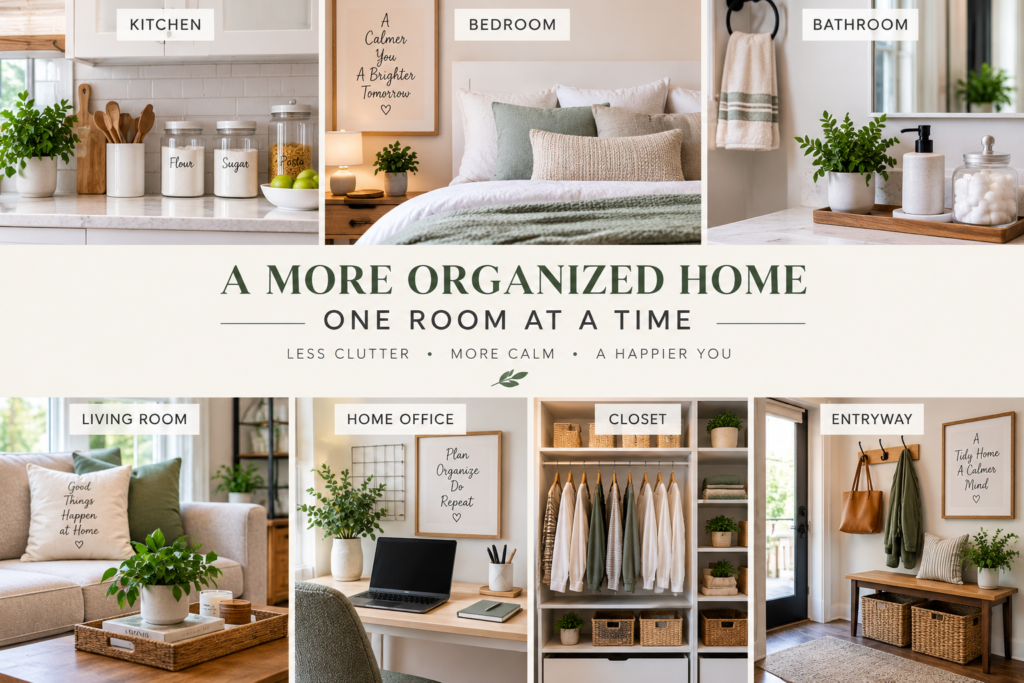
    Organized kitchen, bedroom, bathroom, living room, home office, closet, and entryway

    6. Declutter the Home Office

    Paperwork, mail, office supplies, and miscellaneous items can quickly take over a home office or workspace. Start by clearing the desk and removing anything that doesn’t belong in the area.

    Sort through papers and keep only what you actually need. File important documents, recycle unnecessary paperwork, and give frequently used supplies a designated place. A clear workspace can make it much easier to stay focused and productive.

    7. Declutter Closets

    Closets often become storage areas for things we aren’t sure what to do with. Work through one section at a time rather than emptying the entire closet at once.

    Remove clothing, shoes, and accessories you no longer wear or use. Group similar items together and keep everyday essentials within easy reach. Use higher shelves and less accessible areas for seasonal or occasional-use items.

    8. Declutter Entryways and Drop Zones

    Entryways can quickly collect shoes, bags, mail, keys, and other everyday items. Start by removing anything that doesn’t need to stay near the door.

    Give frequently used items a simple place to land. Hooks, baskets, trays, or small storage areas can help keep everyday essentials contained and make it easier to prevent clutter from spreading into the rest of the home.

    9. Declutter Storage Areas

    Garages, utility closets, basements, and other storage areas can easily become holding places for things you no longer use. Instead of trying to tackle the entire space at once, choose one shelf, bin, or section to work through at a time.

    Remove broken items, obvious trash, and things you no longer need. Group the remaining items by purpose and keep frequently used belongings easy to access. Clearly defined storage areas make it easier to find what you need and prevent clutter from building up again.

    10. Create a Simple Decluttering Routine

    Decluttering becomes much easier when it becomes part of your regular routine. Rather than waiting until your home feels overwhelming again, spend a few minutes each week putting misplaced items away and removing things you no longer need.

    Pay attention to the areas where clutter tends to return first. A quick weekly reset can help keep countertops, tables, closets, and other frequently used spaces under control without requiring another major decluttering project.

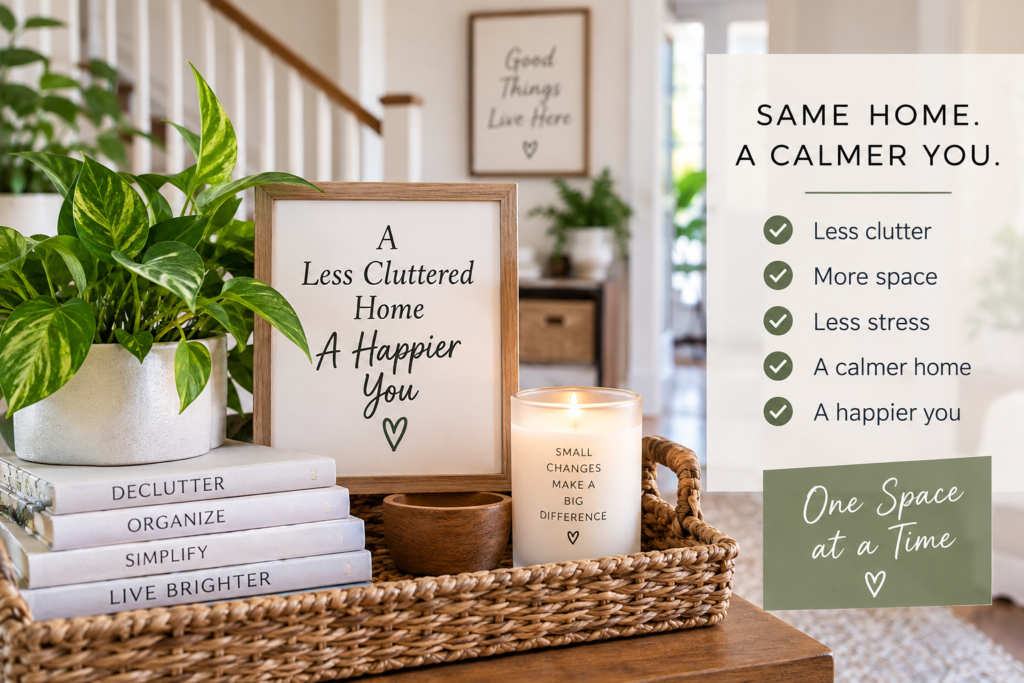
    Organized, clutter-free home with plants and decor illustrating the benefits of creating a calmer home one space at a time.

    A Less Cluttered Home Starts One Space at a Time

    Decluttering your entire home doesn’t have to happen all at once. Small, consistent changes can make a noticeable difference in how your home looks, feels, and functions.

    Focus on creating spaces that work for your everyday life rather than trying to make everything perfect. When the things you use have a practical place to belong, keeping your home organized becomes much easier.

    Start with one room, one drawer, or even one shelf. Every space you simplify is another step toward creating a calmer, more manageable home.

    Ready to organize the spaces you’ve decluttered? Explore our 25 Amazon Home Organization Finds That Make Everyday Life Easier.

  • 10 Simple Ways to Organize a Small Kitchen Without Adding More Cabinets

    10 Simple Ways to Organize a Small Kitchen Without Adding More Cabinets

    A small kitchen can be surprisingly functional when every inch of space has a purpose. You don’t necessarily need more cabinets or a major renovation—you may simply need to make better use of the space you already have.

    From crowded countertops to overflowing drawers and hard-to-reach cabinets, a few practical changes can make your kitchen feel more organized, spacious, and easier to use.

    These 10 simple kitchen organization ideas will help you reduce clutter, create smarter storage, and make everyday cooking and cleanup easier without adding more cabinets.

    If you’re wondering how to organize a small kitchen without adding cabinets, start by looking for unused storage opportunities. Wall shelves, hanging organizers, rolling carts, and smart countertop storage can help you create more room without expensive renovations. These small kitchen storage ideas are especially helpful when cabinet space is limited.

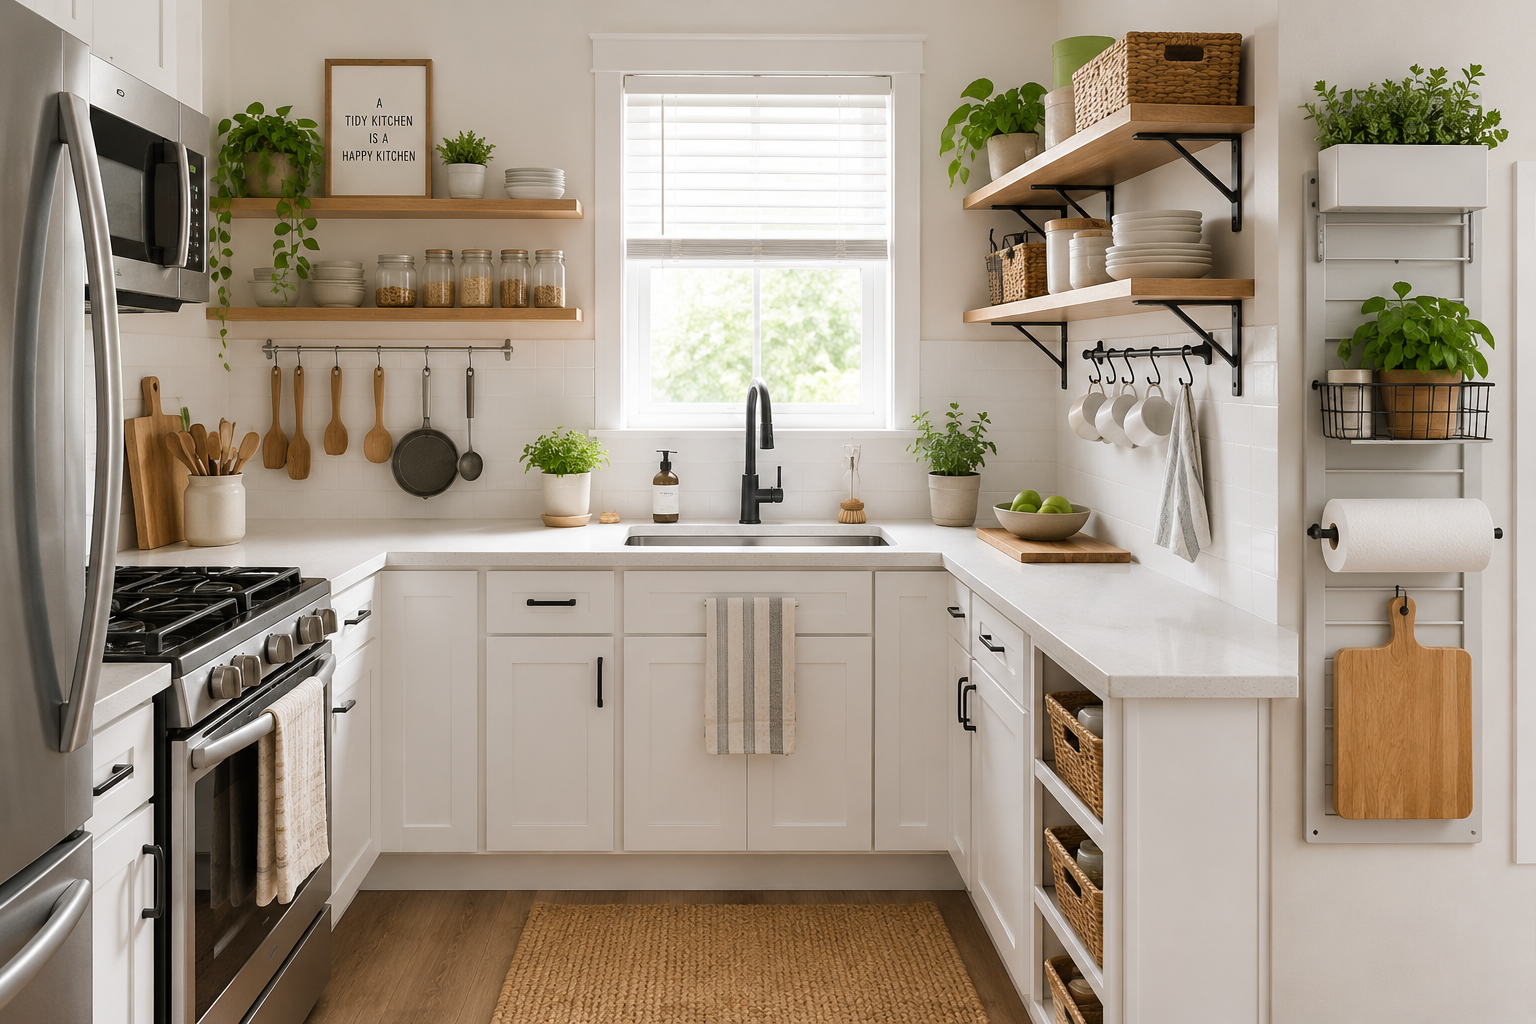
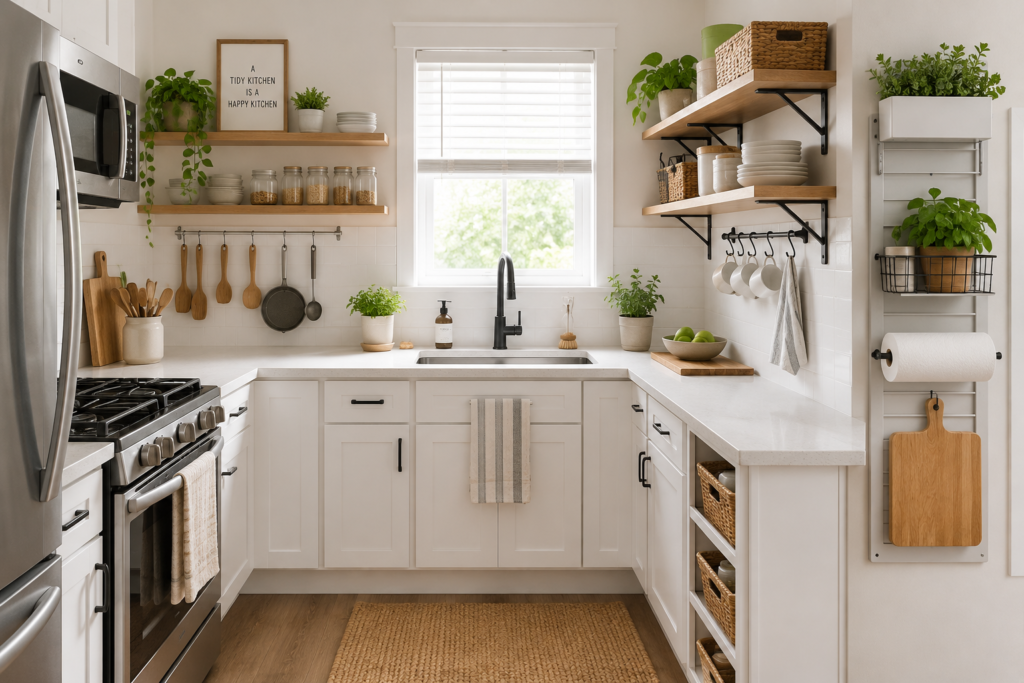
    Organized small kitchen with open shelving, clear countertops, and smart storage solutions.

    1. Clear the Countertops

    Small kitchens can quickly feel crowded when too many items are kept on the countertops. Start by removing appliances, dishes, and other items you don’t use every day.

    Keep only the essentials within easy reach and find cabinet, drawer, or pantry space for everything else. A clearer countertop gives you more room for food preparation and instantly makes the kitchen feel more spacious.

    2. Organize Cabinets by How You Use Them

    Instead of placing items wherever they fit, organize your cabinets around your everyday routines. Keep frequently used dishes, glasses, and cooking essentials in the easiest-to-reach areas.

    Items you use less often can be stored on higher shelves or toward the back. Grouping similar items together also makes it easier to see what you have and prevents cabinets from becoming cluttered again.

    3. Make Better Use of Vertical Space

    When cabinet and counter space is limited, look upward. The unused vertical space inside cabinets, on walls, and above work areas can provide valuable additional storage.

    Shelf risers, hooks, wall-mounted organizers, and other simple solutions can help you use that space without adding another cabinet.

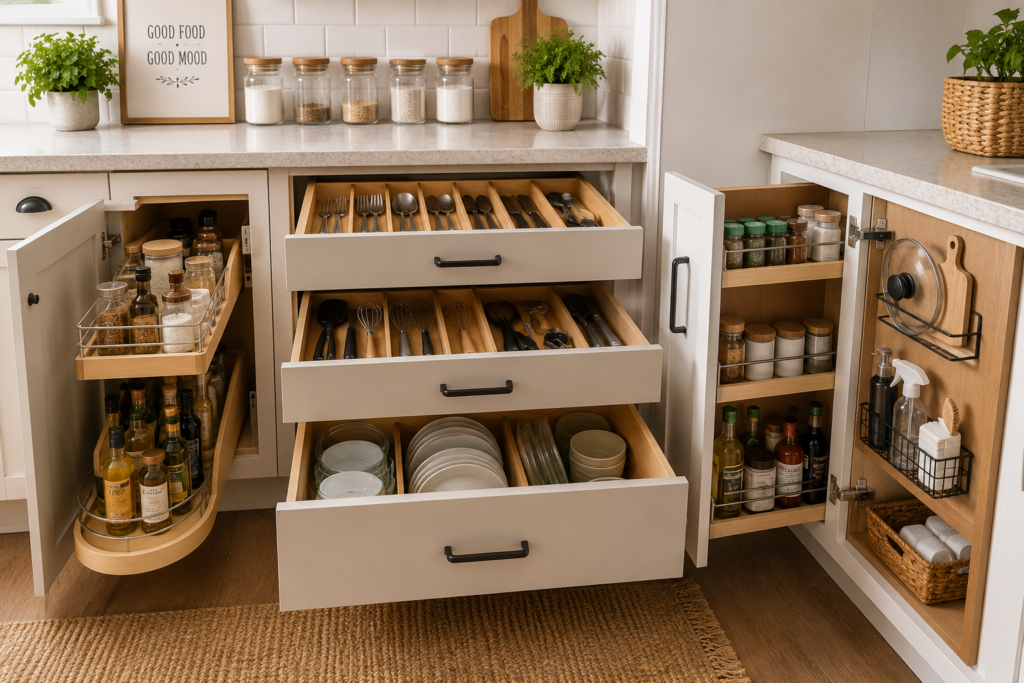
    4. Use the Inside of Cabinet Doors

    The inside of cabinet doors is often overlooked, but it can provide useful storage without taking up valuable shelf space.

    Consider using small racks, hooks, or organizers for items such as measuring spoons, pot lids, cutting boards, or cleaning supplies. Just make sure anything you add allows the cabinet door to close comfortably.

    5. Organize Drawers with Simple Dividers

    Kitchen drawers become cluttered quickly when utensils and tools are mixed together. Drawer dividers can create designated spaces for everyday items and make it easier to find what you need.

    Before organizing, remove anything you rarely use. Keeping only useful items in your drawers gives everything more room and helps prevent clutter from building up again.

    Organized kitchen cabinets and drawers with dividers, pull-out storage, spices, dishes, and kitchen essentials.

    6. Make Awkward Cabinet Spaces Work Harder

    Deep cabinets, corners, and under-sink areas often contain valuable space that isn’t being used efficiently. Instead of letting items disappear toward the back, organize these areas so everything remains visible and accessible.

    Pull-out organizers, baskets, turntables, or stackable storage can help make these difficult spaces much easier to use.

    7. Store Items Near Where You Use Them

    A simple way to make a small kitchen more functional is to store items close to where they are actually used. This reduces unnecessary movement and makes everyday tasks faster and easier.

    For example, keep cooking utensils near the stove, coffee supplies near the coffee maker, and dishes close to the dishwasher or drying area. Think about how you move through your kitchen and organize around those routines.

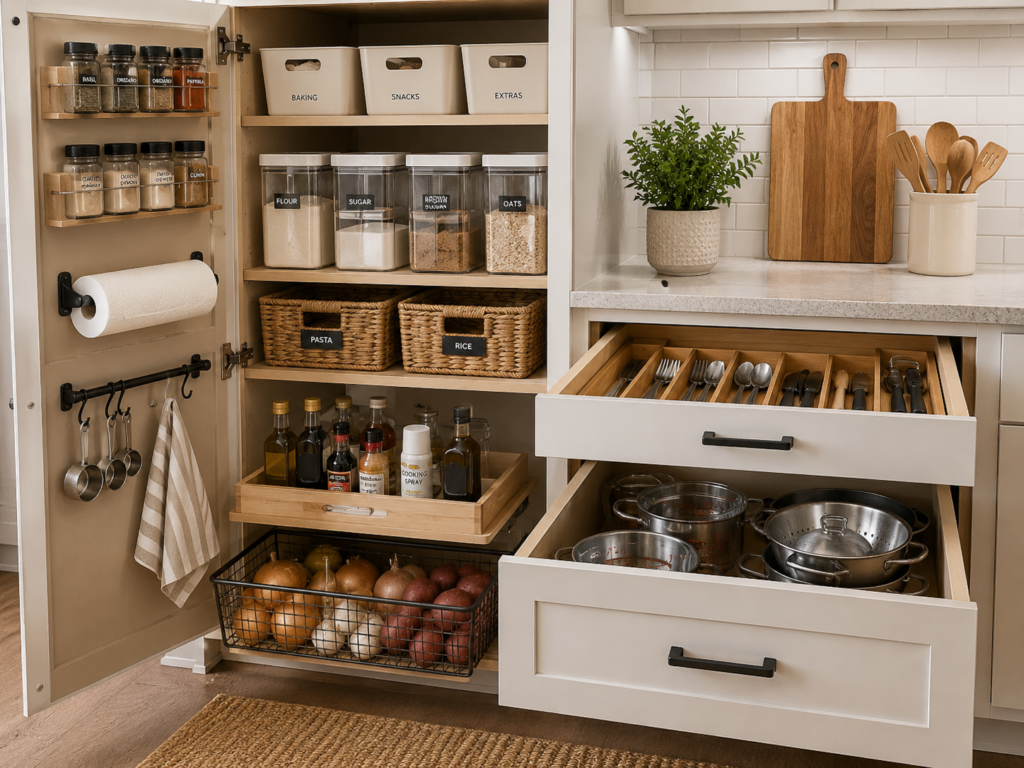
    8. Use Clear Containers and Baskets to Control Clutter

    Small loose items can quickly make cabinets, shelves, and pantry areas feel disorganized. Containers and baskets help group similar items together and give everything a designated place.

    You don’t need to transfer everything into matching containers. Focus on areas where grouping items will genuinely make the kitchen easier to use and maintain.

    Organized kitchen storage with clear containers, baskets, labeled pantry bins, drawers, and frequently used kitchen essentials.

    9. Keep Frequently Used Items Easy to Reach

    Prime storage space should be reserved for the things you use most often. Everyday dishes, cookware, ingredients, and appliances should be easy to reach without moving several other items first.

    Seasonal items and things you rarely use can be stored on higher shelves or in less convenient areas, leaving your best storage space available for everyday essentials.

    10. Create a Simple Reset Routine

    Even the best organization system will eventually need a little attention. Instead of waiting until the kitchen becomes cluttered again, build a quick reset into your regular routine.

    Spend a few minutes each week returning misplaced items, clearing unnecessary things from the countertops, and checking cabinets or drawers that tend to become messy. Small, consistent resets can keep your kitchen organized without requiring another major cleanup.

    Small Kitchen Storage Ideas Without Adding Cabinets

    You don’t need additional cabinets to create useful storage in a small kitchen. Start by making better use of the space you already have.

    Wall-mounted shelves: Use available wall space to store everyday dishes, jars, or lightweight kitchen essentials. Make sure shelves are securely installed.

    Rolling storage carts: A narrow rolling cart can fit beside a refrigerator or in an unused corner, providing flexible storage for pantry items and cooking supplies.

    Hanging organizers: Hooks, rails, and over-the-door organizers can help keep utensils, towels, and other frequently used items within reach.

    Stackable baskets: Use stackable baskets on open shelves or countertops to organize snacks, small pantry items, and kitchen accessories without taking up unnecessary space.

    Choose storage solutions that fit your kitchen’s layout and daily routine. Even one or two thoughtful changes can make a small kitchen feel more organized and easier to use.

    A More Organized Kitchen Starts with the Space You Have

    You don’t need a bigger kitchen to create a space that works better for you. Making thoughtful use of your countertops, cabinets, drawers, walls, and other available storage can make even a small kitchen feel more functional.

    Start with the areas that cause you the most frustration and make changes gradually. With a few simple organization habits, your kitchen can become easier to cook in, easier to clean, and easier to maintain every day.

    Looking for practical products to help organize your kitchen? Explore our 25 Amazon Kitchen Organization Products That Make Cooking Easier.

  • How to Organize a Pantry in 7 Simple Steps

    How to Organize a Pantry in 7 Simple Steps

    An organized pantry can make everyday routines easier, from preparing meals to putting groceries away. But creating a pantry that works well doesn’t require a complete makeover or a collection of expensive storage products.

    The key is to create a simple system that makes it easy to see what you have, find what you need, and put everything back where it belongs.

    Whether you have a walk-in pantry, a small cabinet, or just a few kitchen shelves, these seven simple steps will help you create a more organized and functional pantry—and keep it that way.

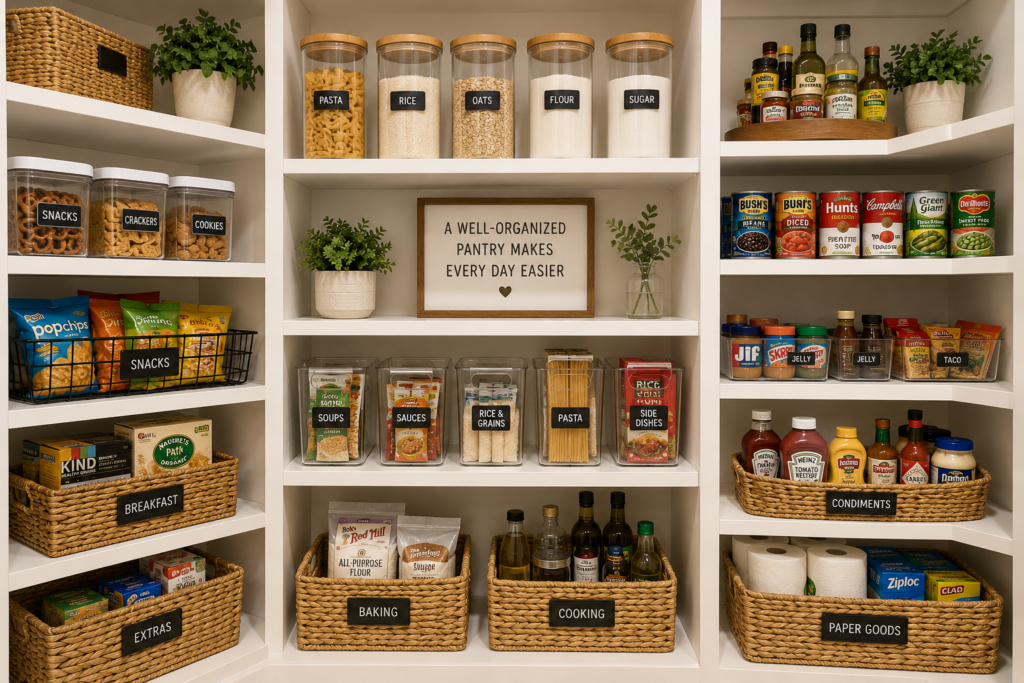
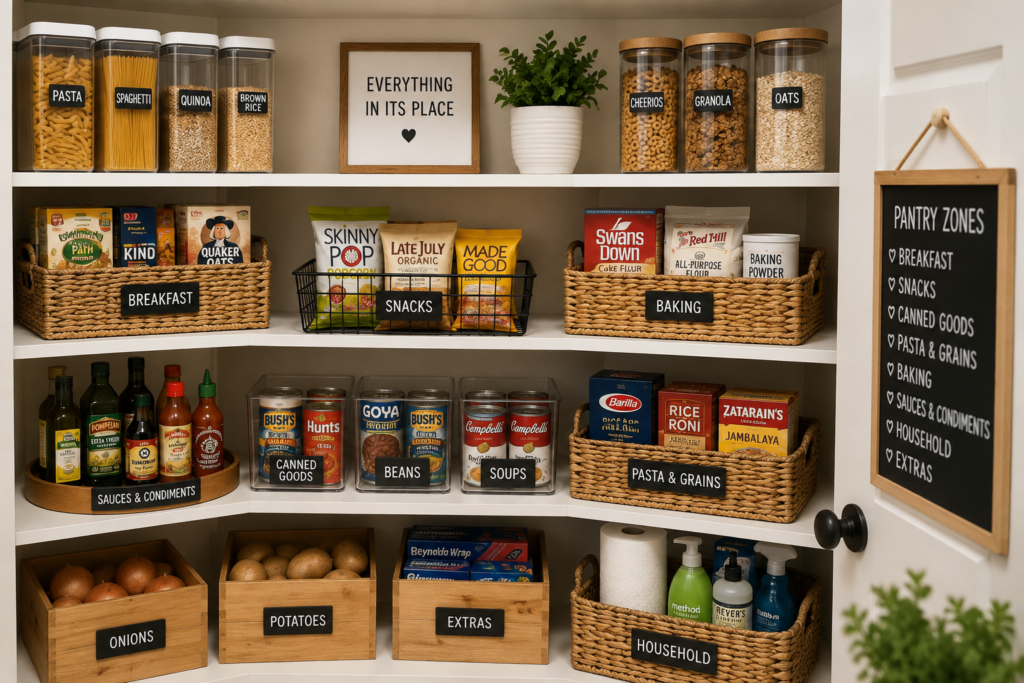
    Organized pantry with labeled storage containers, baskets, pantry zones, and everyday food essentials

    Step 1: Empty the Pantry and Start Fresh

    Before organizing anything, remove everything from your pantry or cabinets. Starting with an empty space makes it easier to see exactly what you have and gives you a chance to clean shelves before putting items back.

    As you remove items, place similar foods together so you can begin seeing natural categories such as canned goods, snacks, baking supplies, breakfast foods, and pantry staples.

    Step 2: Check Expiration Dates and Remove What You Don’t Need

    Before returning anything to the pantry, check expiration and best-by dates. Dispose of food that is no longer safe to use, and set aside unopened items your household is unlikely to use for donation if appropriate.

    This is also a good time to combine duplicate items and make note of foods you already have. Reducing unnecessary clutter gives you more usable space and makes the next steps much easier.

    Step 3: Group Similar Items Together

    Organizing your pantry by category makes it easier to find what you need and helps prevent buying duplicates. Keep similar items together rather than placing groceries wherever there happens to be an open spot.

    For example, you might create groups for snacks, canned foods, pasta and grains, baking supplies, breakfast items, sauces and condiments, and everyday cooking essentials.

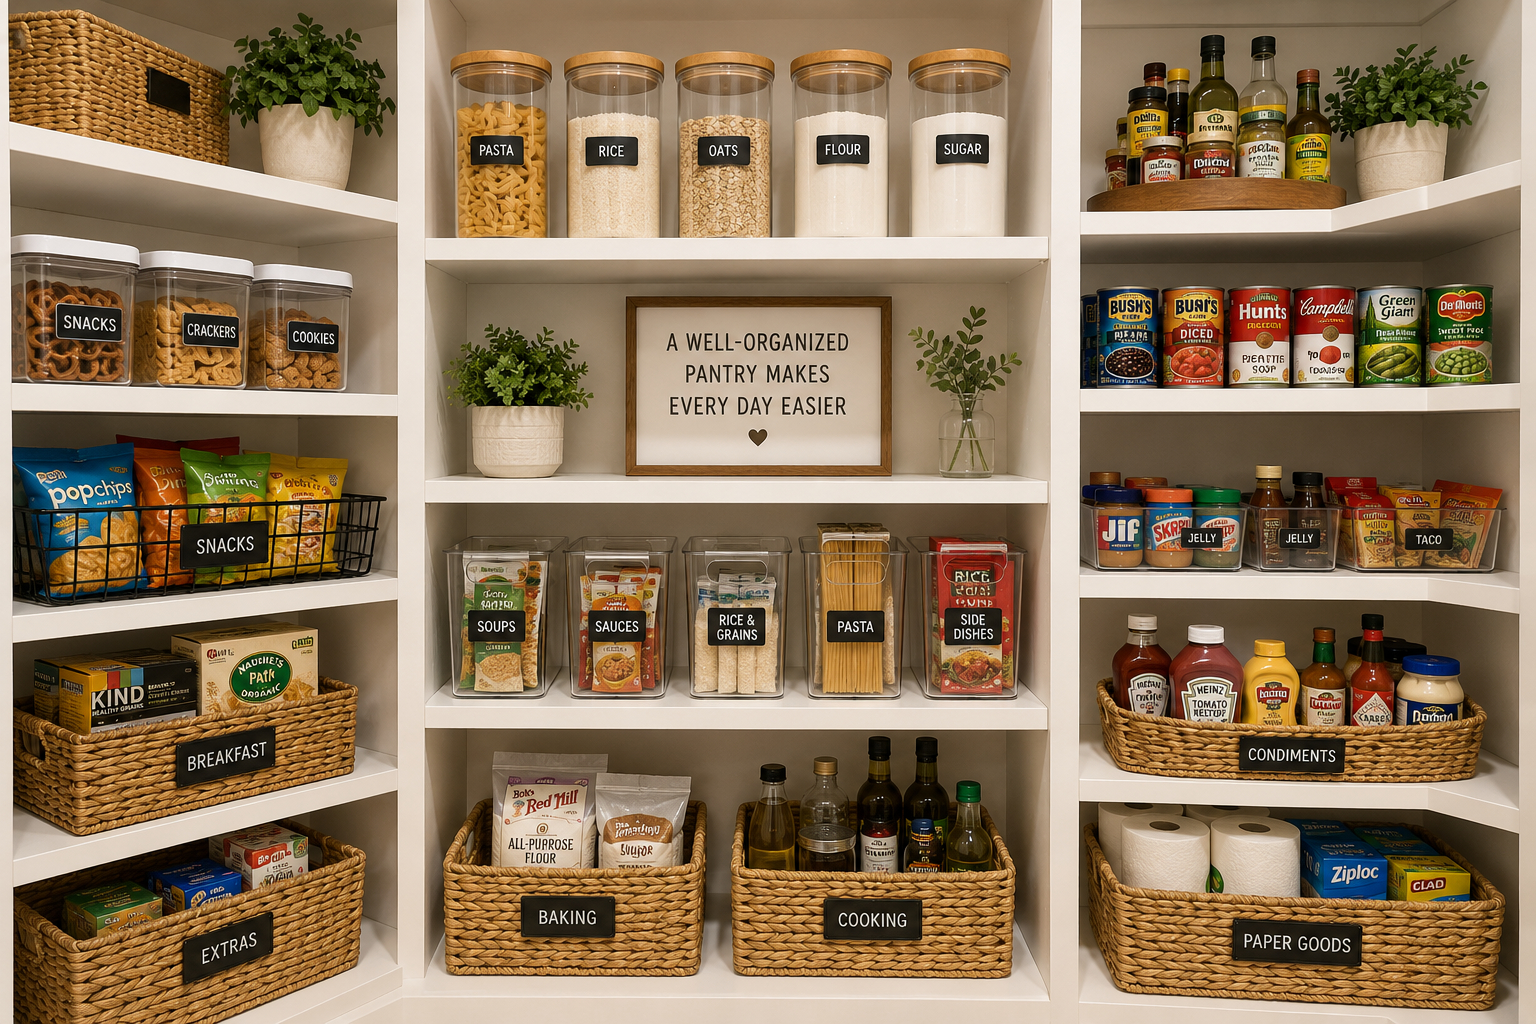
    Organized pantry divided into labeled zones for breakfast, snacks, baking supplies, canned goods, grains, and household essentials

    Step 4: Create Pantry Zones

    Once your items are grouped, assign each category a specific area of the pantry. These designated zones make it easier for everyone in the household to know where things belong.

    Place frequently used foods in easy-to-reach areas, while less frequently used items can go on higher or lower shelves. If you have children, consider keeping appropriate snacks on a shelf they can reach easily.

    Step 5: Make the Most of Your Shelf Space

    Take a look at the height and depth of each shelf before deciding where everything should go. Place taller items where you have enough vertical clearance and keep smaller items where they won’t disappear behind larger containers.

    Try to keep frequently used items visible and within reach. Items you use less often can be placed toward the back or on higher shelves. The goal is to use the available space efficiently without overcrowding it.

    Step 6: Label Your Pantry Zones

    Labels can make an organized pantry much easier to maintain because everyone knows exactly where items should be returned.

    You can label shelves, baskets, bins, or individual containers depending on your setup. Keep the labels simple and easy to understand, using categories such as “Snacks,” “Breakfast,” “Baking,” or “Pasta & Grains.”

    Step 7: Maintain Your Pantry with a Simple Routine

    The best pantry organization system is one that is easy to maintain. Instead of waiting until the pantry becomes cluttered again, spend a few minutes each week putting misplaced items back in their proper zones and checking what needs to be used or restocked.

    Before grocery shopping, take a quick look through the pantry and make a list based on what you actually need. This simple habit can help reduce duplicate purchases, food waste, and unnecessary clutter.

    A More Organized Pantry Starts with a Simple System

    A well-organized pantry doesn’t have to be perfect. What matters most is creating a system that works for your household and is simple enough to maintain over time.

    Start with the space you have, give everything a logical place, and make small adjustments as your needs change. With these seven steps, your pantry can become easier to use, easier to maintain, and a more functional part of your everyday routine.